How to Properly Use Adobe Audition for Your EVP Recordings
Brought to you by EVP Explorations
Discover the Voice Beyond the Veil
Adobe Audition is one of the most powerful tools available for audio editing, restoration, and analysis—and when it comes to Electronic Voice Phenomena (EVP), it can help researchers isolate, clean, and interpret the subtle spirit voices often buried in background noise. At EVP Explorations, we specialize in uncovering the voices beyond the veil, and using the right software is a crucial part of the process.
This guide will walk you through how to properly use Adobe Audition for EVP research, from initial setup to detailed spectral analysis.
1. Preparing for Analysis: Recording Your EVP Session
While Adobe Audition isn’t used to record EVPs in the field (a digital recorder should always be used for that), it becomes your best friend in post-session review. Here’s what you’ll need:
- A digital recorder with high sensitivity and low self-noise (WAV format is preferred over MP3).
- A quiet review environment with headphones that emphasize clarity (studio monitors are a plus).
- Adobe Audition (latest version recommended).
2. Importing Your Recording into Adobe Audition
Step-by-Step:
- Open Adobe Audition.
- Select File > Open, and navigate to your EVP audio file.
- Once opened, the file will appear in the Waveform Editor.
You are now ready to begin the review process.
3. Listening Pass: First Review of the Audio
Before making any edits, listen to the entire recording in its raw state. EVP voices are often faint, buried in ambient noise, or clipped mid-sentence. Use the following tools:
- Markers (Shortcut: M) – Mark anything that sounds anomalous, even if you’re unsure.
- Zoom In (Scroll wheel or + key) – To get closer to brief events.
- Playback Speed – Consider slowing the playback slightly to help distinguish unclear speech patterns.
Pro Tip: EVP often hides in unexpected frequency ranges. Use both ears and instinct.
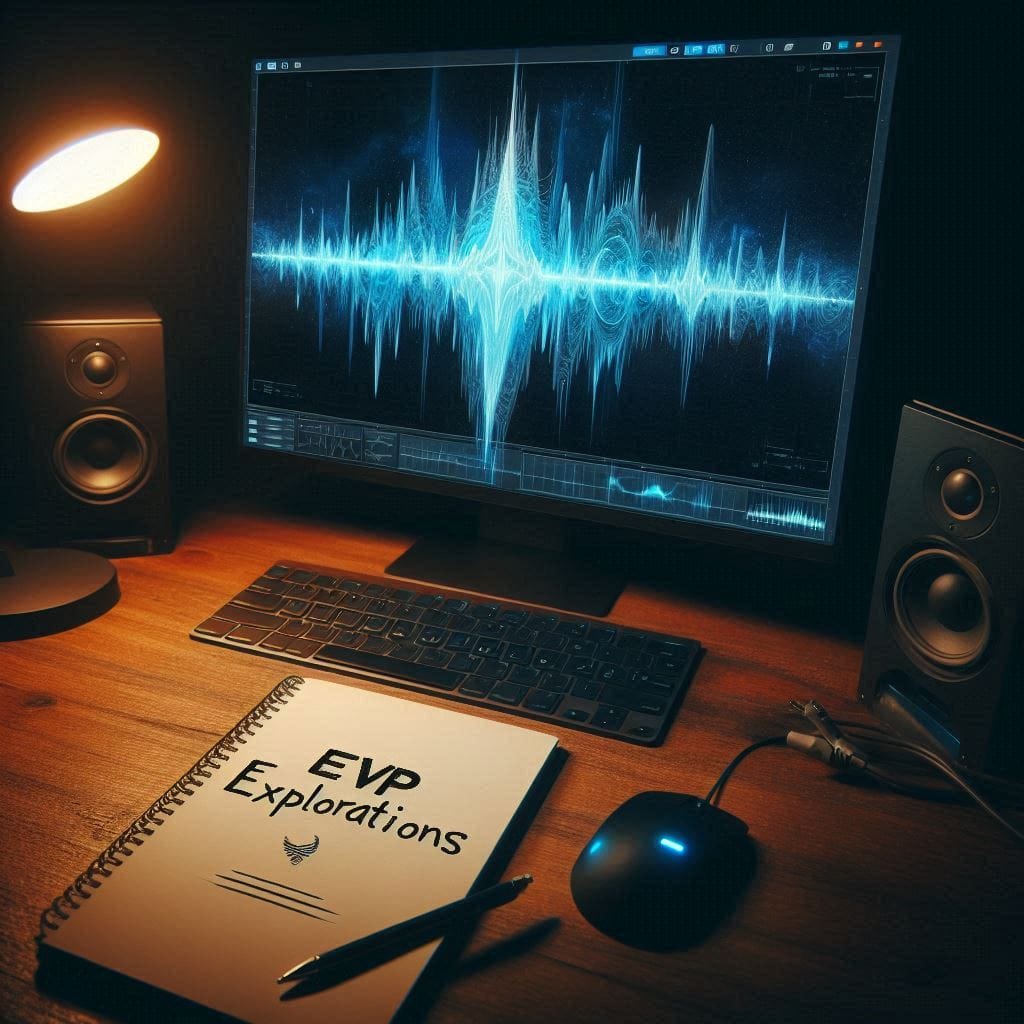
4. Using the Spectral Frequency Display
Switch to Spectral Frequency Display by clicking the icon in the upper left of the editor or pressing Shift + D. This is where Adobe Audition really shines.
You’ll now see audio represented in a frequency-based image. EVP voices can appear as brief, vertical streaks or wave-like patterns—often in the 300–3000 Hz range but sometimes even lower.
Use tools like:
- Selection Tool (Shortcut: V) – To highlight specific areas.
- Lasso Tool (Shortcut: L) – For irregularly shaped anomalies.
- Spot Healing Brush – To remove unwanted noise around potential voices without affecting the anomalous content.
5. Cleaning and Enhancing the EVP
Noise Reduction:
- Highlight a section with only background noise (no speech or possible EVP).
- Go to Effects > Noise Reduction/Restoration > Capture Noise Print.
- Then select the full clip and go to Effects > Noise Reduction/Restoration > Noise Reduction (process).
- Adjust the settings—start with 50% reduction and preview.
EQ & Filtering:
- Use Parametric Equalizer to boost frequencies where the voice sits.
- Try High Pass Filter (80–100 Hz) to eliminate unnecessary low-frequency hum.
- Use FFT Filter to isolate or remove certain frequency bands.
Amplify Low Voices:
- Highlight the suspected EVP.
- Go to Effects > Amplitude and Compression > Amplify.
- Increase gain gradually (6 dB at a time), always listening carefully.
6. Loop Playback for Analysis
Set Loop Points around the section of interest and press Loop Playback (Shortcut: L). EVP analysis often requires listening to a phrase 10–20 times to make out words and tones.
Use Spectral Pitch Display (View > Spectral Pitch Display) if you suspect pitch shifts or tone manipulation by spirit voices.
7. Annotate and Export
Once you’ve verified an EVP:
- Label it with Markers, including your interpretation and timestamp.
- Export the segment by selecting it and going to File > Export > Selected Audio.
- Save it as a WAV file to retain full fidelity.
Optional: Apply slight reverb or dynamic range compression if you’re preparing a segment for public sharing—but never alter the original.
8. Stay Ethical and Transparent
At EVP Explorations, we emphasize integrity. Always:
- Save your original unedited file.
- Label your enhanced clips clearly (e.g., “EVP_Amplified”, “EVP_NoiseReduced”).
- Never add sounds or manipulate content beyond basic enhancement.
9. Build Your Library
Create a well-organized system to archive your reviewed sessions. Include:
- Date and time of recording
- Location
- Team members present
- Environmental conditions
- Notable findings
Adobe Audition lets you batch process and organize files using metadata—take advantage of it.
Conclusion: The Voice Is There—You Just Need to Find It
Adobe Audition is a phenomenal tool in the hands of a patient and dedicated EVP researcher. It won’t magically create voices—but it can help reveal what’s already there. By combining technique with ethical practice, you move one step closer to understanding the phenomenon of spirit communication.
At EVP Explorations, we believe in evidence-based research guided by respect, curiosity, and the pursuit of truth.
Discover the Voice Beyond the Veil
Learn more at: https://evpexplorations.com
Stay Connected with EVP Explorations!
Subscribe to our free newsletter for the latest updates, education, tips, investigation methods, and new articles—delivered right to your inbox.
Join today and keep exploring with us!